So here we go… no real intros, or forethought, actually, to how this is going to look… let alone be comprehensible… but whatever…better a trial run than never doing anything, right?
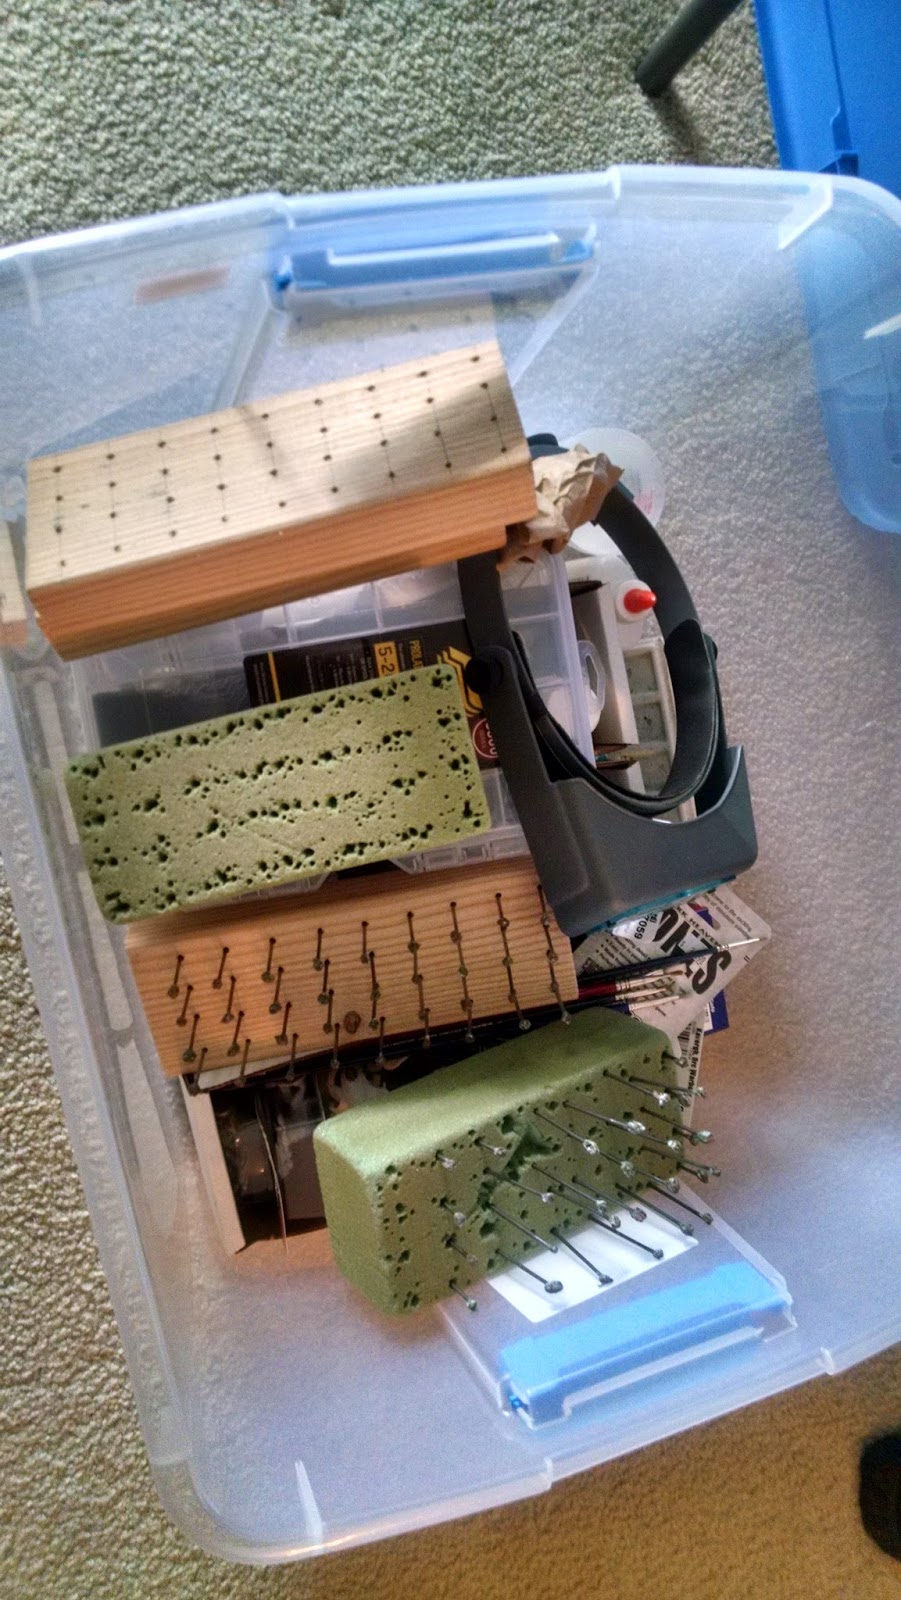
So below, we see the ultimate Box of Nerdery – everything that is needed to paint minis.
OK, I lied, I’ll set some context and then we’ll start on our merry way on how to paint minis and super super minis.
On a Friday afternoon, our gaming group decided to launch a new Cthulhu game and do some mini painting at the same time, just doubling down on the nerd!
The Box of Nerdery (BoN) was brought by the Head Engineer Nerd, hosted by the Reverend Nerd, and then me and another member would be considered Peon Nerds (that really doesn’t sound right).
The idea for this walkthrough of how to paint 3mm war minis came up at a previous session where much beer and wine had been drunk – clearly, we didn’t drink enough to forget that we thought doing a walkthrough of this process would be a “fun” idea.
Once we go through this whole process, I’ll type up a list of supplies and stuff you’ll need. Given this is my first time as well, I’m asking a lot of questions and may overshare, but if you’re pretty new to this like I am, I hope you’ll appreciate the details.
Let’s get started!
As with any mini painting, you’re going to need something to stick your tiny little minis onto so you can prime and paint in peace.
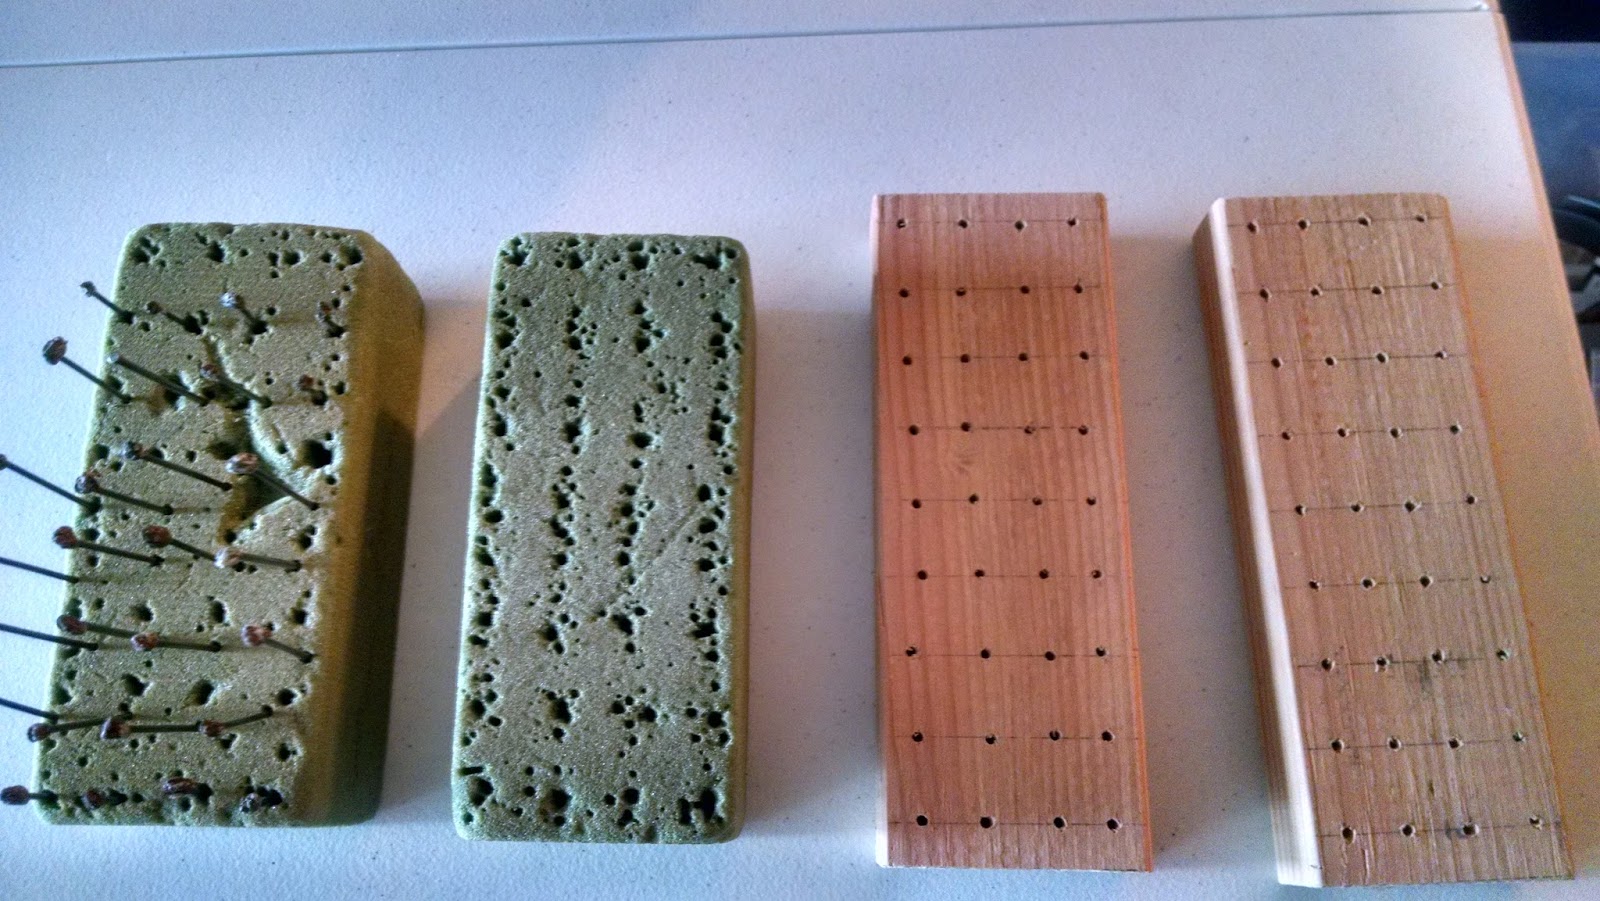
Many people use foam blocks, especially for these 3mm figures, but as you can see, they get pretty beaten up after awhile, so wooden blocks work just fine too. And to note, less weird green “dust” sticking to your figures with the wood blocks!
But I’m getting way ahead of the process here…you won’t have the pleasure of working with this drudgery until you’ve filed, removed “sprues” and washed the whole darn lot of minis which, btw, check out how TINY they are!
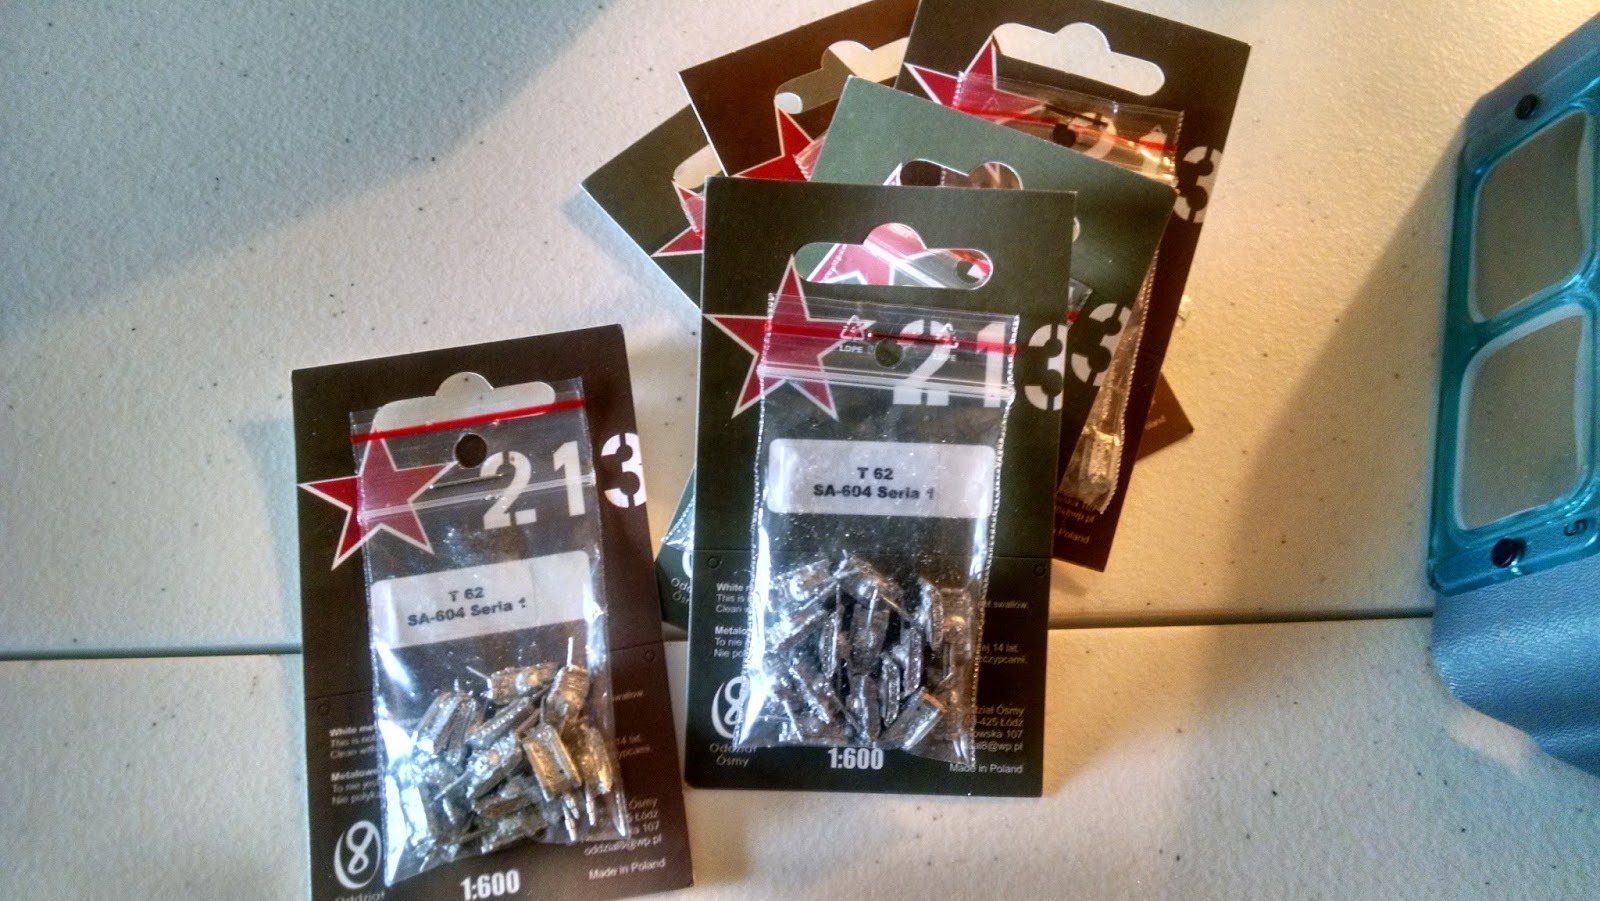
I know their supposed to be tanks, but they’re SO CUTE! There are 30 in this shot, and I guess that makes up a battalion…of CUTENESS!!
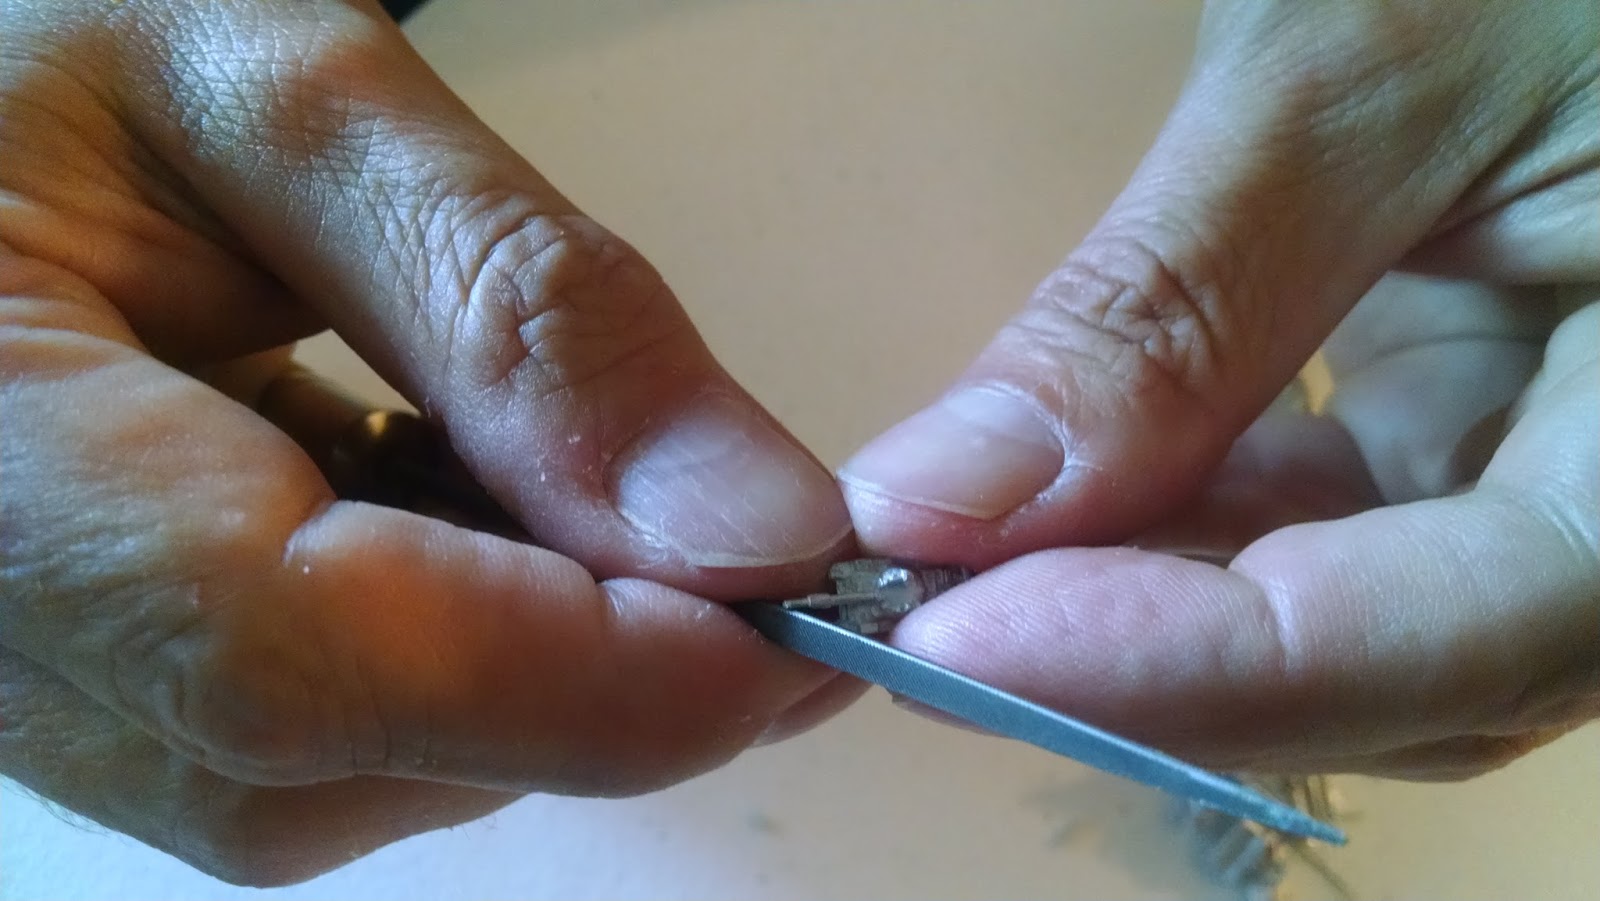
So remember, in this phase, you really need some kind of file (that’s the thing in Jack’s right hand), and a keen eye to distinguish between the things that should actually be hanging off your tanks and figures, versus the “sprue” which is this tiny little dangly thing that could be mistaken for a tank gun if you aren’t careful.
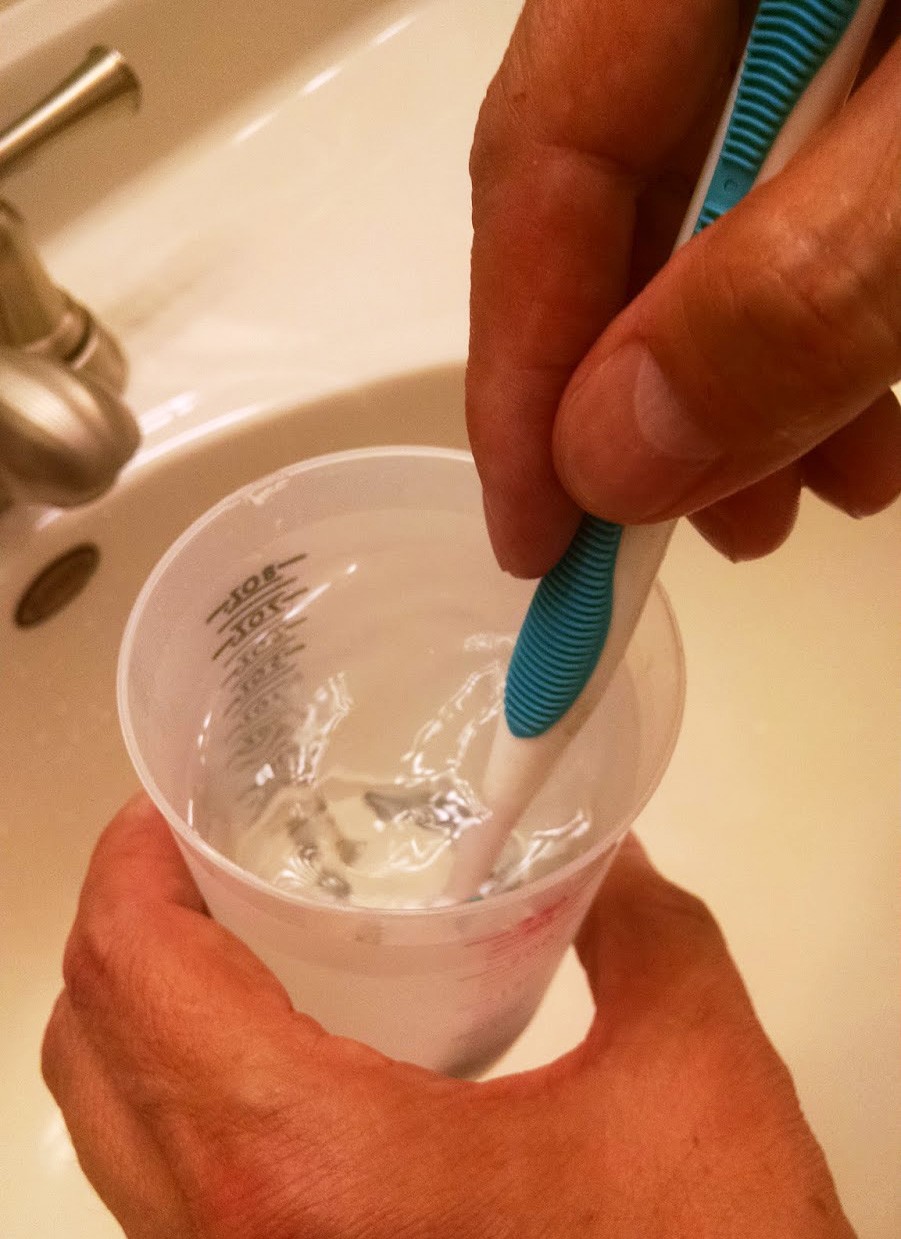
You want to file everything down, and throw it in a cup that you’ll be able to fill with vinegar and hot water. Make sure you have an old toothbrush. Experts (who weren’t drunk) say that for 3mm, you just need to use the brush to swish the pieces around. Larger pieces need a better scrubbing.
Again, if you’re just working with 3mm, you really don’t need a lot of space, but we ended up adding in some D&D figures that were 28mm, I think?

We added a dracolisk, unicorn and other randomness – washing larger minis requires a bigger tray, but same 1/2 vinegar, 1/2 hot water. Put on a towel and wait for 2 hours, minimum.
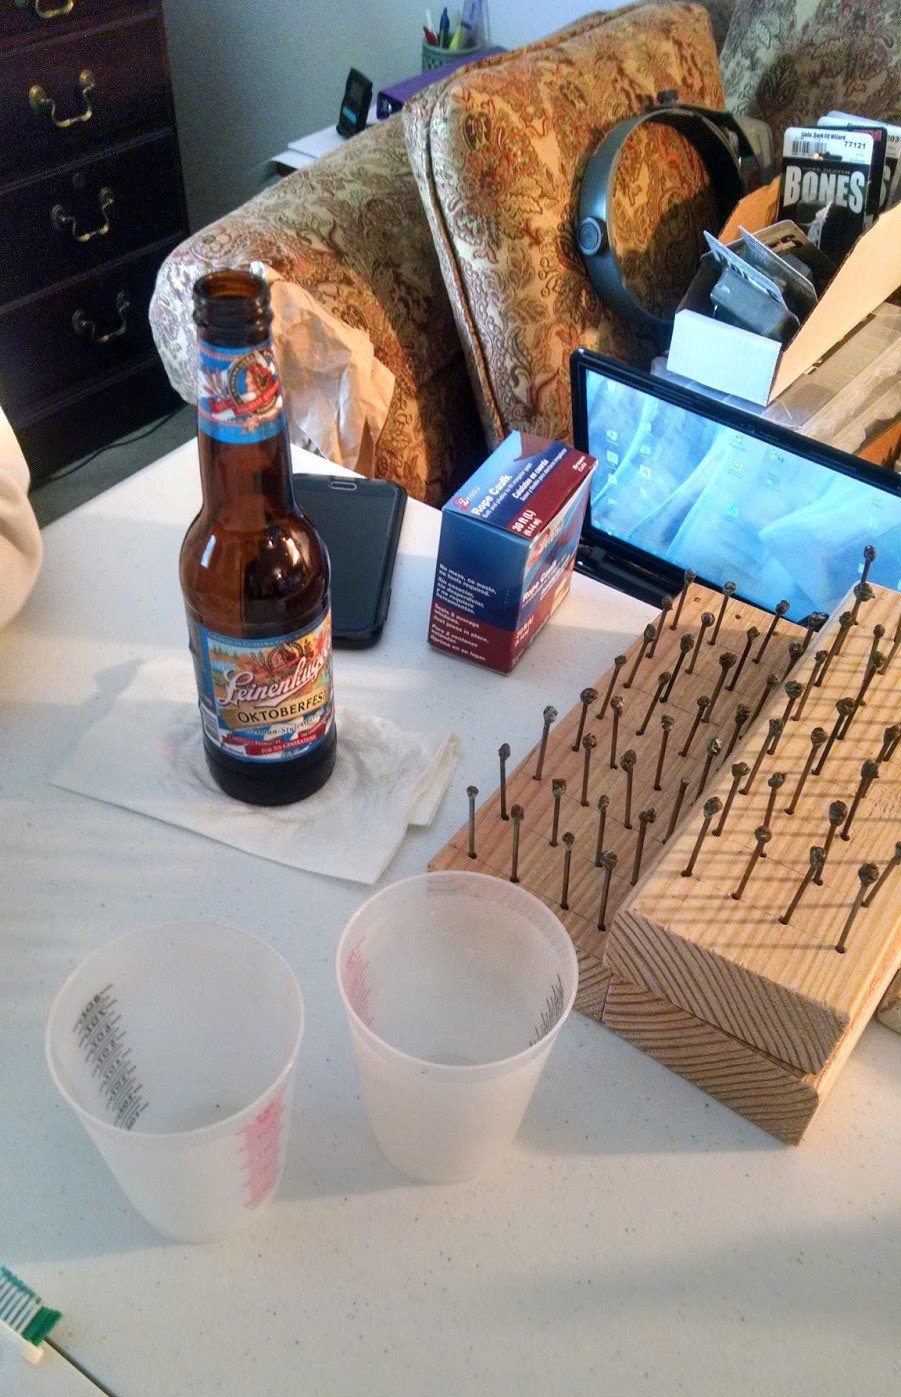
And don’t forget, when you are engaged in such delicate work, always ensure there is enough beer, wine and snacks for you and your friends! I should have taken some photos of the great chili that the R made, as well as the cheese board we had going on (because we’re closet hipsters like that).
Anyways, this is the end of part 1. Next part will be on the tedious attaching of each piece onto the nails and the priming.
Good Start, just bought some 3mm minis, why do you need to wash them in vinegar?
i’ve never used vinegar for miniatures, but i think washing them in vinegar helps get rid of mold (flash)
While I use dish soap and water, I believe their intent is the same – the metal pieces have a lubricant on them, a mold release, to ensure they come out of the mold cleanly. This residue can interfere with the paint adhering properly on the metal surface. Happens on plastic as well. I’ve painted on unwashed models and the paint pulls away from the surface like oil and water.